MetaMask has become one of the most popular and trusted tools for interacting with blockchain applications. Whether you’re a crypto novice or someone looking to explore decentralized finance (DeFi), MetaMask is a gateway to the world of Web3. In this comprehensive guide, we will cover everything a beginner needs to know about MetaMask: what it is, how it works, how to set it up, its key features, security tips, and more.
Table of Contents
- What is MetaMask?
- Key Features of MetaMask
- How to Install MetaMask
- Setting Up Your MetaMask Wallet
- Understanding Your Wallet Interface
- Adding and Managing Assets
- How to Use MetaMask with Decentralized Applications (dApps)
- Using MetaMask with Hardware Wallets
- Security Best Practices
- Pros and Cons of MetaMask
- Alternatives to MetaMask
- Final Thoughts
- Disclaimer
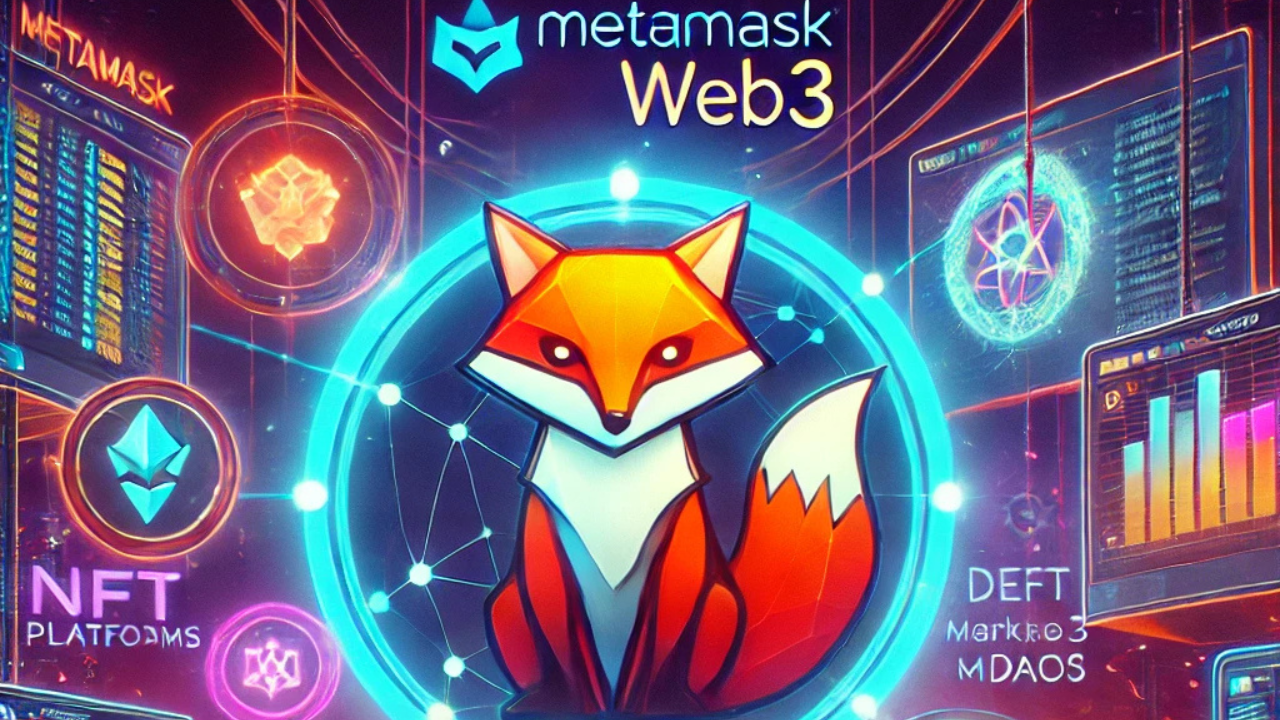
1. What is MetaMask?
MetaMask is a free, open-source crypto wallet and gateway to blockchain applications. It enables users to store and manage account keys, broadcast transactions, and connect to decentralized applications (dApps) on the Ethereum blockchain and other EVM-compatible networks like Binance Smart Chain and Polygon.
Launched in 2016 by ConsenSys, MetaMask started as a browser extension for Chrome and Firefox. Today, it also supports mobile apps for Android and iOS, making it one of the most accessible crypto wallets available.
2. Key Features of MetaMask
- Non-Custodial Wallet: You control your private keys; MetaMask does not store any of your data.
- Browser and Mobile Compatibility: Use MetaMask on Chrome, Firefox, Brave, Edge, and mobile devices.
- Multi-Chain Support: Supports Ethereum, Binance Smart Chain, Avalanche, Polygon, and custom networks.
- Built-In Swaps: Allows token swaps directly within the wallet.
- Integration with dApps: Seamless connection to platforms like Uniswap, OpenSea, and Aave.
3. How to Install MetaMask
Browser Extension
- Visit the official MetaMask website.
- Click on “Download” and choose your browser.
- Add the extension to your browser.
- Once installed, click on the MetaMask icon in your toolbar.
Mobile App
- Go to the Google Play Store or Apple App Store.
- Search for “MetaMask” and download the app.
- Follow the on-screen instructions to create or import a wallet.
Warning: Always download MetaMask from the official site or app store. Fake apps can steal your funds.
4. Setting Up Your MetaMask Wallet
- Create a Wallet: Agree to the terms and set a strong password.
- Secure Your Secret Recovery Phrase: MetaMask will give you a 12-word recovery phrase. Write it down and store it offline.
- Confirm Recovery Phrase: To ensure you’ve saved it correctly, MetaMask will ask you to re-enter it.
Never share your recovery phrase with anyone. Anyone with access to it can steal your funds.
5. Understanding Your Wallet Interface
- Account Name and Address: The top part shows your wallet name and Ethereum address.
- Assets Tab: Displays your token balances.
- Activity Tab: Shows transaction history.
- Buy / Send / Swap Buttons: Quick access to core functions.
- Settings: Manage networks, connected sites, and preferences.
6. Adding and Managing Assets
By default, MetaMask shows ETH only. To add tokens:
- Click on “Import Tokens.”
- Search or enter the contract address.
- Add the token to view your balance.
You can find token contract addresses on trusted platforms like CoinGecko or CoinMarketCap.
7. How to Use MetaMask with dApps
MetaMask connects you to DeFi platforms, NFT marketplaces, and blockchain games.
Example Use Case: Swapping Tokens on MEXC
- Visit MEXC.
- Connect MetaMask by clicking on “Connect Wallet.”
- Choose MetaMask and authorize the connection.
- Trade or provide liquidity directly through your wallet.
You can also use MetaMask on other dApps like Uniswap, OpenSea, PancakeSwap, and more.
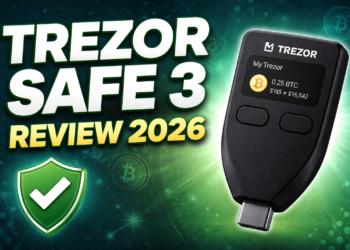
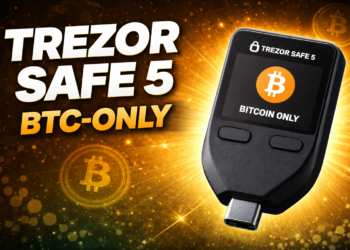
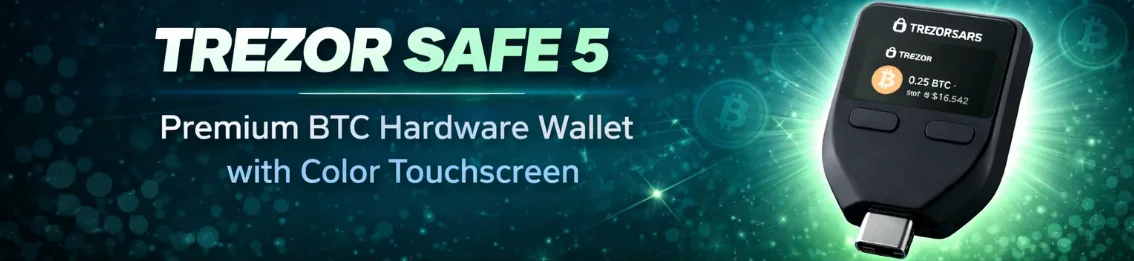
8. Using MetaMask with Hardware Wallets
To increase security, connect MetaMask to a hardware wallet like Trezor:
Trezor Options
Steps:
- Connect your Trezor to your computer.
- Open MetaMask and go to “Settings > Advanced > Sync with Hardware Wallet.”
- Choose Trezor and follow the instructions.
This adds a strong layer of protection to your funds.
9. Security Best Practices
- Use Hardware Wallets: Always store large amounts in a hardware wallet.
- Beware of Phishing: Only use official websites and never click on suspicious links.
- Enable Privacy Settings: Turn on phishing detection and privacy mode in MetaMask settings.
- Lock Your Wallet: Use the lock feature when stepping away.
- Backup Recovery Phrase Offline: Avoid storing it digitally.
10. Pros and Cons of MetaMask
Pros:
- Easy to use
- Widely supported by dApps
- Non-custodial and secure
- Active development and support
Cons:
- Not suitable for Bitcoin (only EVM chains)
- Users are responsible for their own security
- Fees may be higher for built-in swaps
11. Alternatives to MetaMask
If MetaMask doesn’t meet your needs, consider:
- Trust Wallet – Supports more blockchains and includes a dApp browser.
- Coinbase Wallet – Great for beginners with Coinbase integration.
- Rabbi Wallet – Lightweight wallet with excellent dApp support.
- Ledger Live – Pairs with Ledger hardware wallets.
12. Final Thoughts
MetaMask is an essential tool for anyone exploring the crypto space, especially in DeFi and NFTs. It’s beginner-friendly yet powerful enough for advanced users. By combining MetaMask with a hardware wallet like Trezor Model One or Trezor Model T, you can take your security to the next level. Start small, stay safe, and enjoy your Web3 journey.
13. Disclaimer
This article is for informational purposes only and does not constitute financial or investment advice. Always do your own research before using any crypto wallet or making any investment. The author may earn commissions from affiliate links included in this article.