
A Complete 2025 Guide to Recovering Your Crypto Wallet Safely
If you’ve recently switched smartphones, lost your old device, or simply want to use Trust Wallet on multiple devices — restoring your wallet is a crucial step. The good news? As long as you backed up your 12-word recovery phrase, you’re in full control.

In this detailed guide, we’ll walk you through:
- How to safely restore your Trust Wallet
- What to do if your phrase is missing
- How to secure your wallet after restoration
- Mistakes to avoid during recovery
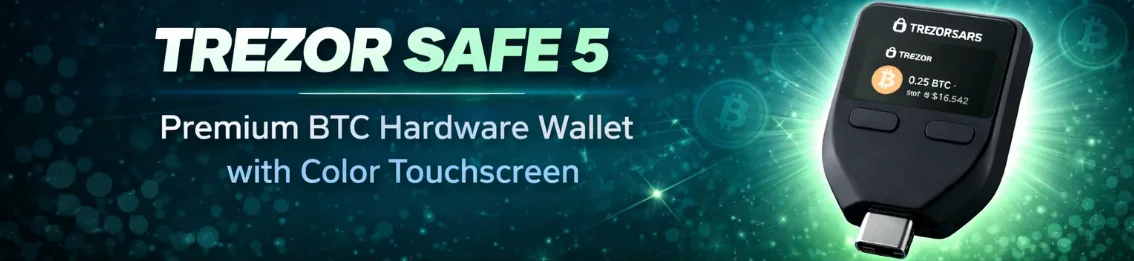
- Using cold storage tools like Trezor Model T and Ledger
- How to interact with exchanges like Bybit and MEXC after restoring your wallet
Let’s ensure your crypto assets stay safe and fully accessible — no matter what device you’re using.
🔑 What You Need to Restore Trust Wallet
To restore your Trust Wallet, you must have your:
- 12-word recovery phrase (also called a seed phrase or backup phrase)
- A new or reset smartphone with the Trust Wallet app installed
Without the 12-word phrase, there is no way to recover your wallet — not even Trust Wallet support can help.
💡 Tip: If you don’t have your phrase backed up, stop using the wallet immediately and transfer your funds to a new wallet.
📲 Step-by-Step: How to Restore Your Trust Wallet on a New Device
✅ Step 1: Download Trust Wallet
Install the official app from the correct store:
⚠️ Warning: Do not download APKs or third-party versions — many phishing apps exist.
✅ Step 2: Tap “I Already Have a Wallet”
Open the app, and you’ll be greeted with two options:
- Create a New Wallet
- I Already Have a Wallet
Choose “I Already Have a Wallet.”
✅ Step 3: Select Multi-Coin Wallet or a Specific Chain
If your old wallet was the standard Trust Wallet, choose Multi-Coin Wallet.
(Only choose a specific chain like Ethereum if you were using a wallet limited to one blockchain.)
✅ Step 4: Enter Your 12-Word Recovery Phrase
You’ll be asked to input your phrase in the correct order.
Trust Wallet does not accept phrases that are:
- Out of order
- Incorrect
- Misspelled
🔐 Pro tip: Use copy-paste only if you are 100% sure the source is offline or encrypted. Typing manually is safer.
Once confirmed, your wallet will be restored, along with all token balances and NFTs.
✅ Step 5: Re-Add Missing Tokens or NFTs
Sometimes, tokens or NFTs won’t appear automatically after restoring. This doesn’t mean they’re lost — just hidden.
To show them:
- Tap the top-right icon (token browser)
- Search or manually add custom tokens (ERC20, BEP20, etc.)
- For NFTs, tap the NFT tab
More on that below.
🧾 How to Recover Tokens That Don’t Show Up
After restoring, your token balances are still tied to your wallet address, even if the token isn’t visible.
To recover:
- Go to a block explorer like Etherscan or BscScan
- Enter your wallet address
- Look for token holdings
- Use the contract address to manually add tokens in Trust Wallet
🖼️ How to Recover NFTs in Trust Wallet
NFTs won’t always appear right away. Make sure:
- You’ve added the correct blockchain (Ethereum, BNB Smart Chain)
- You’ve tapped into the NFT tab
- The metadata is correctly stored
If they still don’t appear:
- Check your address on OpenSea or a marketplace like TofuNFT
- Use watch-only mode to monitor NFT holdings from your old address
If you previously used a separate NFT wallet, restore it individually using its seed phrase.
🚨 Common Mistakes to Avoid When Restoring Trust Wallet
❌ Mistake 1: Entering the Wrong Phrase
Even a single typo or word in the wrong order will fail to recover your wallet.
❌ Mistake 2: Installing a Fake App
Scam versions of Trust Wallet exist on unofficial sites. Always use the official app store links.
❌ Mistake 3: Not Backing Up Before Reset
Before factory resetting your old phone, always:
- Triple-check your phrase backup
- Test recovery on a different device if unsure
🔐 How to Secure Your Wallet After Restoration
Now that you’ve restored your wallet, it’s time to secure it.
🔒 1. Lock Your App
- Go to Settings > Security
- Enable App Lock, set a PIN, and enable Biometrics if available
🔒 2. Recheck Your Backup
- Make sure your 12-word phrase is written down and stored offline
- Consider using a metal seed backup like Cryptosteel, Billfodl, or Cobo
🔒 3. Use a Separate Wallet for Risky DApps
Create a second wallet for DeFi, airdrops, and NFT experiments. Keep your main holdings separate.
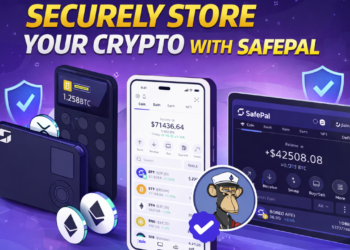
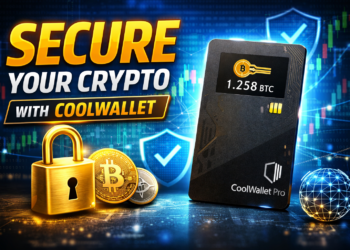
🔄 Use Hardware Wallets for Extra Protection
Once your wallet is restored, consider moving large amounts of crypto to cold storage using a hardware wallet.
Why?
Hardware wallets:
- Store private keys offline
- Protect you from malware, phishing, and device loss
- Are essential for long-term holders and DeFi users
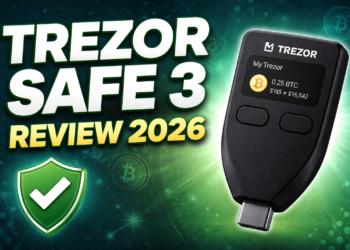
🧊 Recommended Hardware Wallets
🔸 Trezor Model T
- Touchscreen interface
- Open-source firmware
- Excellent for Ethereum, BSC, and altcoins
🔸 Ledger Nano X / S Plus
- Bluetooth support (Nano X)
- Compact, portable design
- Ledger Live app for full control
🧠 Using Trust Wallet with Hardware Wallets
Trust Wallet doesn’t natively integrate with hardware wallets yet, but here’s what you can do:
Option 1: Watch-Only Mode
- Add your hardware wallet’s public address to Trust Wallet
- Track balances without exposing keys
Option 2: Use Hardware Wallet + MetaMask
- Connect Ledger or Trezor to MetaMask
- Access Web3 DApps like Uniswap, Aave, OpenSea
- Sign transactions on your hardware wallet
This way, you get the best of both worlds — Trust Wallet convenience and hardware wallet security.
💸 How to Use Exchanges After Restoring Trust Wallet
If you restored your wallet but have no funds left, it’s time to refill it from a secure exchange.
🔹 Bybit
- Easy withdrawals
- Spot, derivatives, staking
- Excellent for long-term investors and traders
🔹 MEXC
- Huge altcoin selection
- Fast onboarding
- Great for buying ERC20, BEP20 tokens
Once purchased, send funds from Bybit or MEXC to your restored wallet.
🌍 Can You Use Trust Wallet on Multiple Devices?
Technically yes — you can import the same seed phrase into Trust Wallet on multiple smartphones or tablets.
But be careful:
- All devices have equal control
- If one device is compromised, your whole wallet is at risk
💡 Pro Tip: Use one device only. Or better yet, use a hardware wallet for storage and Trust Wallet only for viewing.
🔄 Optional: Transfer Funds to a New Wallet After Restoration
If you’re worried that your seed phrase may have been compromised:
- Create a new Trust Wallet
- Transfer your assets from the restored wallet
- Back up the new phrase securely
This gives you peace of mind and a fresh start.
🛡️ Trust Wallet Recovery Checklist
✅ 12-word phrase backed up
✅ Installed the official app
✅ Entered seed phrase correctly
✅ Verified token and NFT balances
✅ Re-added custom tokens
✅ Enabled app lock & biometrics
✅ Transferred funds to cold storage if needed
✅ Stored seed phrase in a secure offline place
🔄 Quick Q&A
❓ Can I restore my Trust Wallet without a recovery phrase?
No. If you don’t have your 12-word phrase, you cannot restore your wallet.
❓ Can I recover funds sent to a deleted Trust Wallet?
Yes — if you restore the original seed phrase, the wallet and its balances will return.
❓ Is restoring Trust Wallet safe?
Yes, as long as you:
- Use the official app
- Enter the phrase offline
- Avoid public Wi-Fi or keyloggers
🌐 Final Thoughts
Restoring Trust Wallet on a new device is easy if you have your 12-word recovery phrase backed up. It takes just a few minutes to get back into your wallet and resume managing your assets — from DeFi and NFTs to long-term HODLing.
But don’t stop at restoration — prioritize security. Enable app protection, back up your phrase offline, and use cold storage for serious amounts.
And if you’re starting fresh or rebuilding your portfolio, exchanges like Bybit and MEXC offer fast access to crypto with smooth Trust Wallet compatibility.
Combine that with a secure hardware wallet like the Trezor Model T or Ledger, and you’re ready to take full control of your crypto — securely and confidently.
⚠️ Disclaimer
This article is for educational purposes only and does not constitute financial or investment advice. Always do your own research (DYOR) before making any financial decisions. This article contains affiliate links. If you use them, we may earn a commission at no extra cost to you, which helps support the creation of free educational content.